Start
- Konrad Job
This page explains all relevant features on the Start page of LaserCAM Prescribe.
Overview
Navigation
Click Start from the menu to access this page in LaserCAM Prescribe.
Page Layout
Page Fields
New Prescription

Clicking New Prescription allows a user to select from a drop-down menu of available prescription methods. This is the first step in generating a prescription for orthosis manufacture.
Continue

Clicking Continue will allow a user to continue prescribing from the currently selected active prescription.
LaserCAM Prescribe automatically saves your prescription records each time you change page. We are making it easier than ever for you to keep track of your patient data.
Remake

Clicking Remake will display a directory that contains all previously submitted prescription records from a particular PC.
A user can then select a patient record (.zip) and click Open.
The previous records data will then be loaded into LaserCAM Prescribe.
Previously available selections may no longer be available. You must carefully check that all fields are as required prior to submitting.
Your patient records are located in the following directory.
C:\3DScanner\Archive
We recommend that you keep a backup of this directory to ensure that no patient data is lost.
Delete
Clicking the Delete icon will allow a user to delete a record from the Active Prescriptions list.

The currently active prescription may not be deleted.
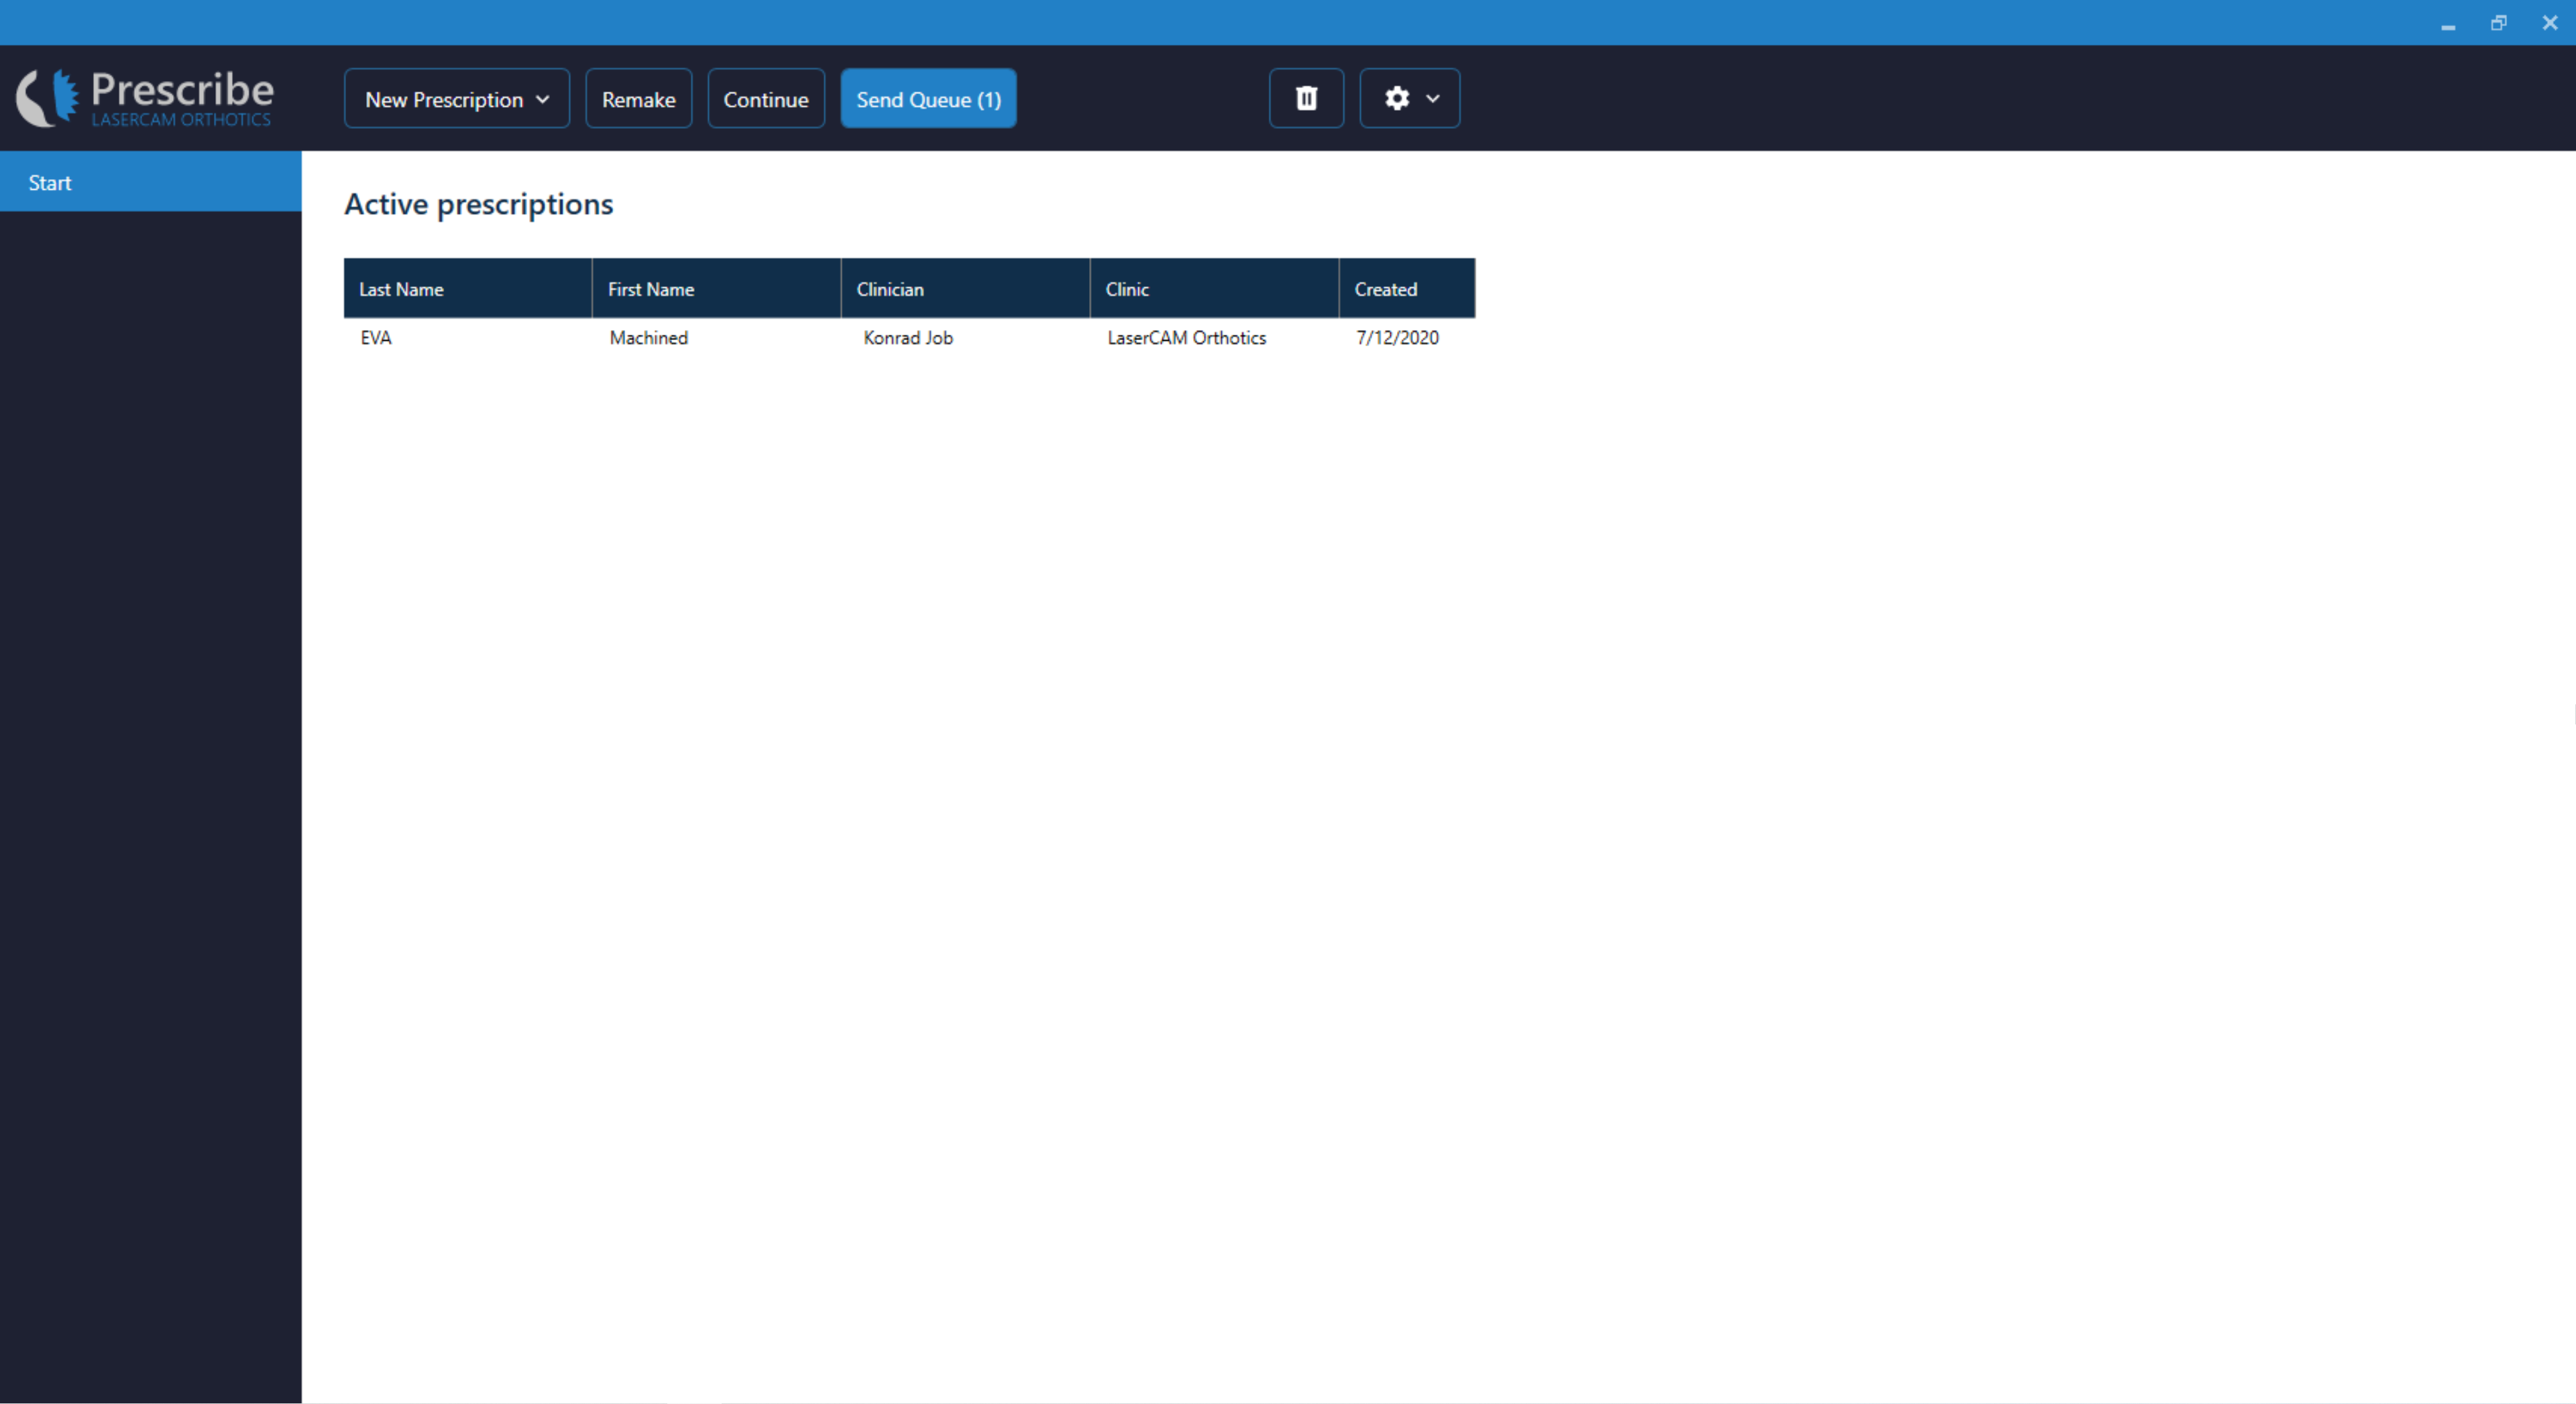
Active Prescriptions
The Active Prescriptions lists displays all incomplete prescriptions not yet been submitted for manufacture or modelling.
You can easily use the Active Prescriptions list to keep track of what has not yet been submitted for manufacture.
Send Queue
The Send Queue menu icon will appear when a prescription is not successfully submitted your specific laboratory. The number alongside the Send Queue menu icon will indicate the total number of failed prescriptions in the Send Queue.
![]()
When a prescription is submitted LaserCAM Prescribe will first attempt to connect to your specified LaserCAM Cloud.

If the connection is not successful the following error message will appear.
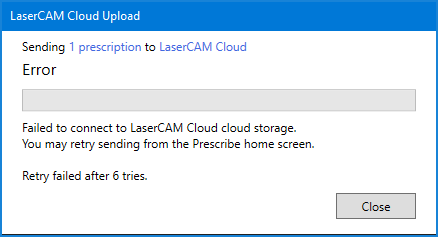
Clicking Send Queue will display a list of failed submissions.
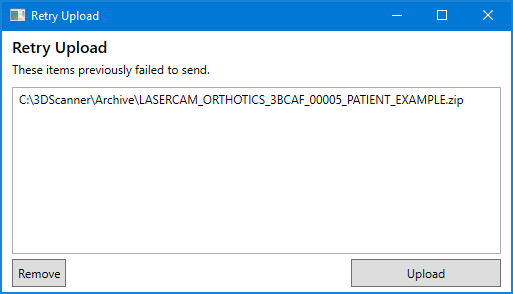
A user can simply select a failed submission from the list and click Upload. If the user is connected to the internet and LaserCAM Cloud is successfully configured then the prescription will be submitted.
If the Send Queue button disappears from the Start page then there are no jobs that have not successfully been submitted.
Settings
The Settings menu icon allows a user to select the Clinic Details and Update Lab Code options.

Clinic Details
The Clinic Details settings option allows a user to input all information relating to their clinic.
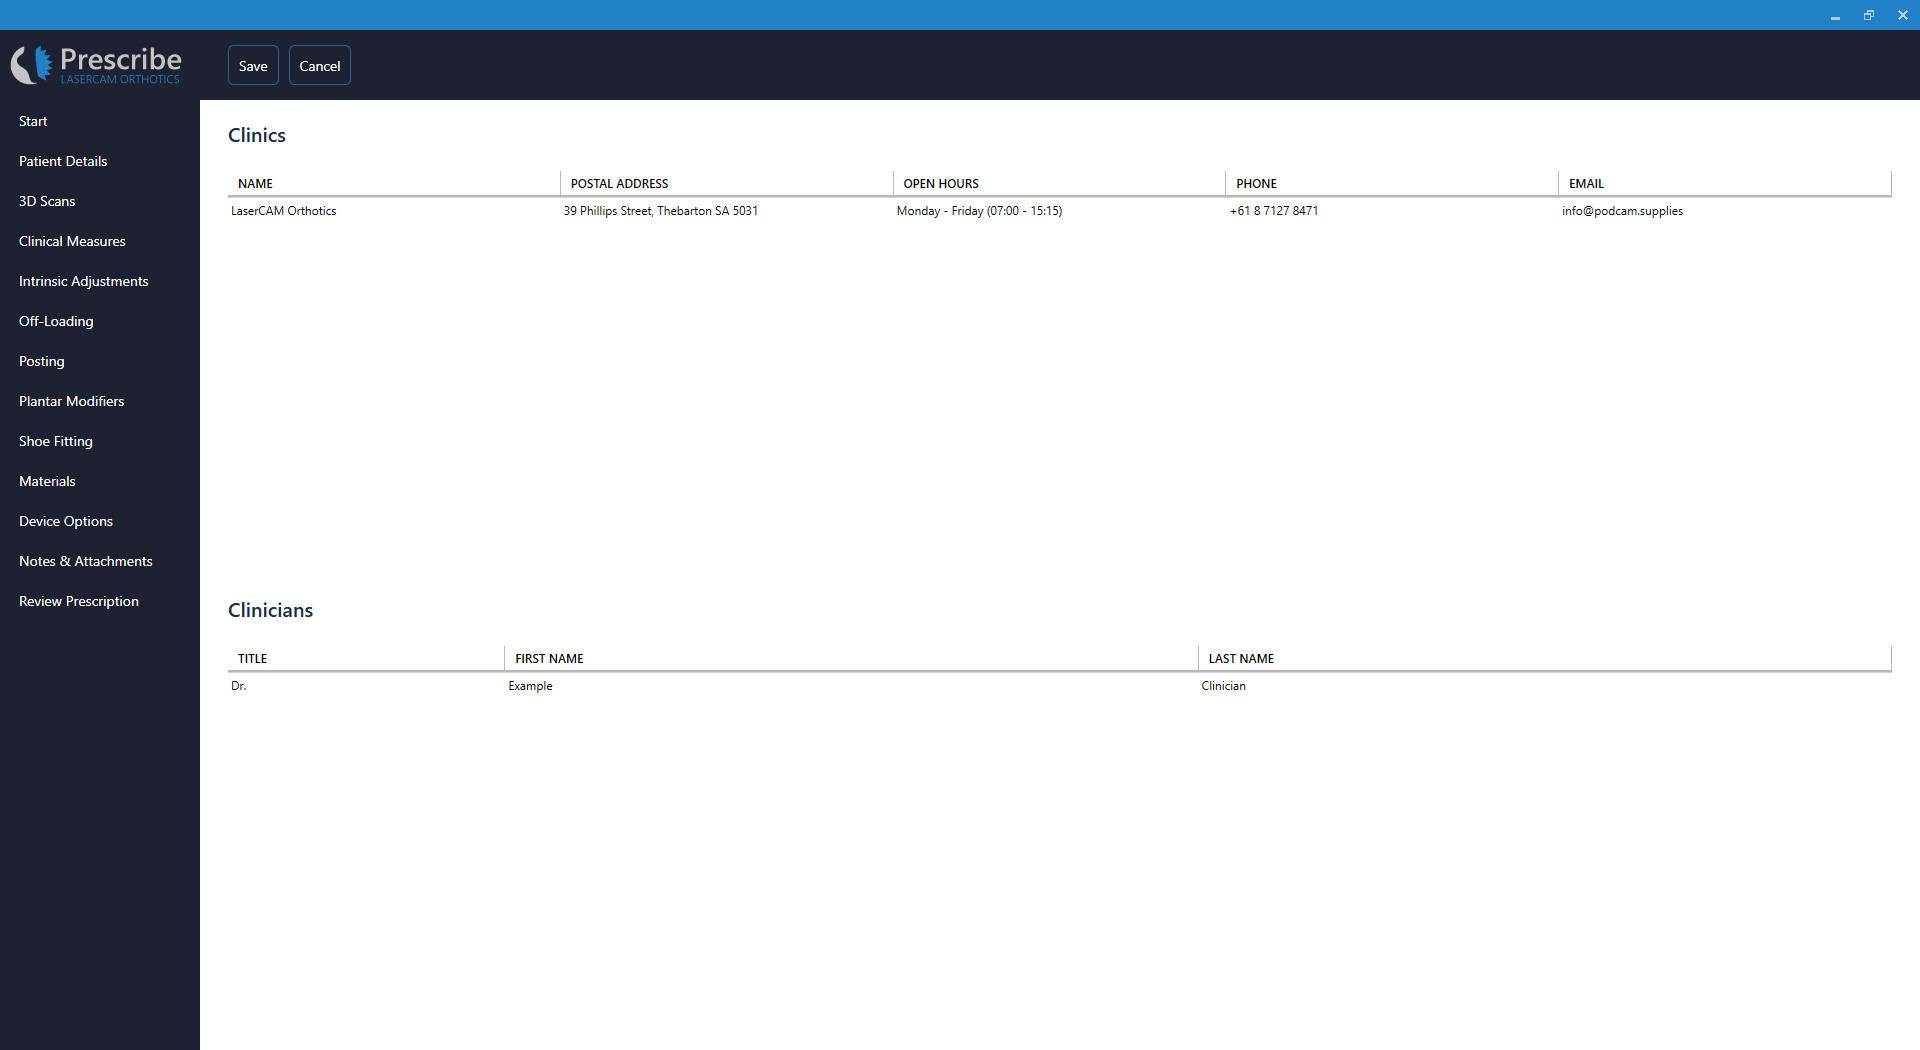
Name
This field is for inputting the Name of your clinic.
Postal Address
This field is for inputting the Postal Address of your clinic.
This is where your manufactured orthoses will be returned to. Please ensure that this is accurate.
Open Hours
This field is for inputting the Open Hours of your clinic.
Phone
This field is for inputting the Phone number of your clinic.
This field is for inputting the Email address of your clinic.
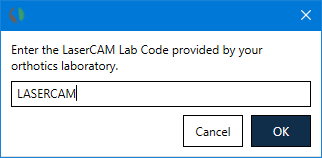
Update Lab Code
The Update Lab Code option allows a user to input a unique laboratory code.
Updating the Unique Lab Code will update LaserCAM Prescribe with laboratory specific information, including available materials, selections and prescription methods.
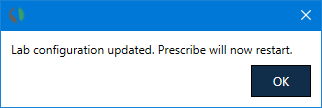
Updating the Unique Lab Code ensures that prescription records are submitted to the correct LaserCAM Cloud.
After clicking OK, LaserCAM Prescribe will restart and automatically update.
Support
Search Prescription Guide
Related Articles