3D Scans
This page explains all relevant features on the 3D Scans page of LaserCAM Prescribe.
Overview
Navigation
Click 3D Scans from the menu to access this page in LaserCAM Prescribe.
Page Layout

Page Fields
Scan Left Foot
The Scan Left Foot button will display a dropdown menu with a countdown timer selection to initiate a 3D scan.
Scan Right Foot
The Scan Right Foot button will display a dropdown menu with a countdown timer selection to initiate a 3D scan.
Either a LaserCAM VPS or a LaserCAM Mini 3D scanner must be connected for the direct scanning feature to work.
For all other 3D scanners you must scan from third-party software and use the Import button to select 3D scans.
Import
The Import button will display the Windows file explorer. From here a compatible 3D scan may be selected.
Available Import Formats
| Available 3D Scan Formats |
|---|
| VRML (recommended) |
STL |
If you have an alternative format then please get in touch, as we may be able to help you convert to VRML or STL.
3D Scanner Selector
The 3D Scanner Selector icon at the top right corner allows a user to select from a list of compatible 3D scanners.

| Currently Supported 3D Scanners |
|---|
| LaserCAM VPS |
LaserCAM Mini |
These scanners have scanning functions directly built-in to the software. Other scanners may still be compatible, however scans will have to imported into the left and right foot columns.
View Controls
Please note that the View Controls behaviour defined below is relevant to our recommended LaserCAM VPS 3D scanner. 3D scans from alternative scanning systems may behave differently.
There are various view and measurement controls accessible beneath the 3D scan display.

View Plantar

This button will view the plantar surface of your 3D scan.
View Heel

This button will view from the heel in the frontal plane.
You should use this view to measure your forefoot to rearfoot alignment, which can be entered in Scan Position, Forefoot Varus and Forefoot Valgus fields in the Clinical Measures page.
View Lateral

This button will view the lateral arch of your 3D scan.
View Toes

This button will view from the toes in the frontal plane.
View Medial

This button will view the medial arch of your 3D scan.
View Dorsal

This button will view the dorsal surface of your 3D scan.
Measure Distance

This button will initiate a Measure Distance command.
After clicking the icon a single left-click on the 3D scan will allow a user to measure in 2D.
That majority of distance measurements are required to be captured in 2D.
A second left-click will then fix the free end of the measure tool and provide a 3D distance measurement.
An third left-click will remove the blue distance measurement from the display.
Measure Angle

This button will initiate a Measure Angle command.
After clicking the icon a single left-click on the 3D scan will allow a user to define a reference plane in which to measure from.
A second left-click will fix the reference plane and allow a user to measure an angle.
A third left-click will then fix the angle measurement on the display.
A fourth left-click will remove the Measure Angle command from the display.
Using this tool is like using a goniometer to measure forefoot to rearfoot relationship. As we know from manufacturing orthoses, the balancing of casts or 3D scans is a critical step in the manufacturing process.
Measure Right Angle

This button will initiate a Measure Right Angle command.
After clicking the icon a single left-click the 3D scan display will allow a user to measure an angle relative to a 90-degree plane.
A second left-click will then fix the angle measurement on the display.
A third left-click will remove the Measure Right Angle command from the display.
You can leave the measurements on the 3D scan display for reference during prescription. Navigating between pages will not remove the measurement command from the display.
Wireframe/Surface

This button will toggle the 3D scan between a Wireframe/Surface viewing modes.
Global Axes

This button will toggle the Global Axes on or off. This will display a red (X), green (Y) and blue (Z) axis on the display.
Make Drawing

This button will take a screen-capture from the plantar surface of the foot. This screenshot will then be displayed in the Microsoft Paint application. The user can then use the controls within Microsoft Paint to draw on the screenshot.
If you are not using a LaserCAM VPS 3D scanner then please read How To Make Drawing (Third-Party 3D Scanners).
How To Make Drawing (LaserCAM VPS)
- Click the Make Drawing button.
- Microsoft Paint will now open.
- You can now draw on the screen-capture within Microsoft Paint.
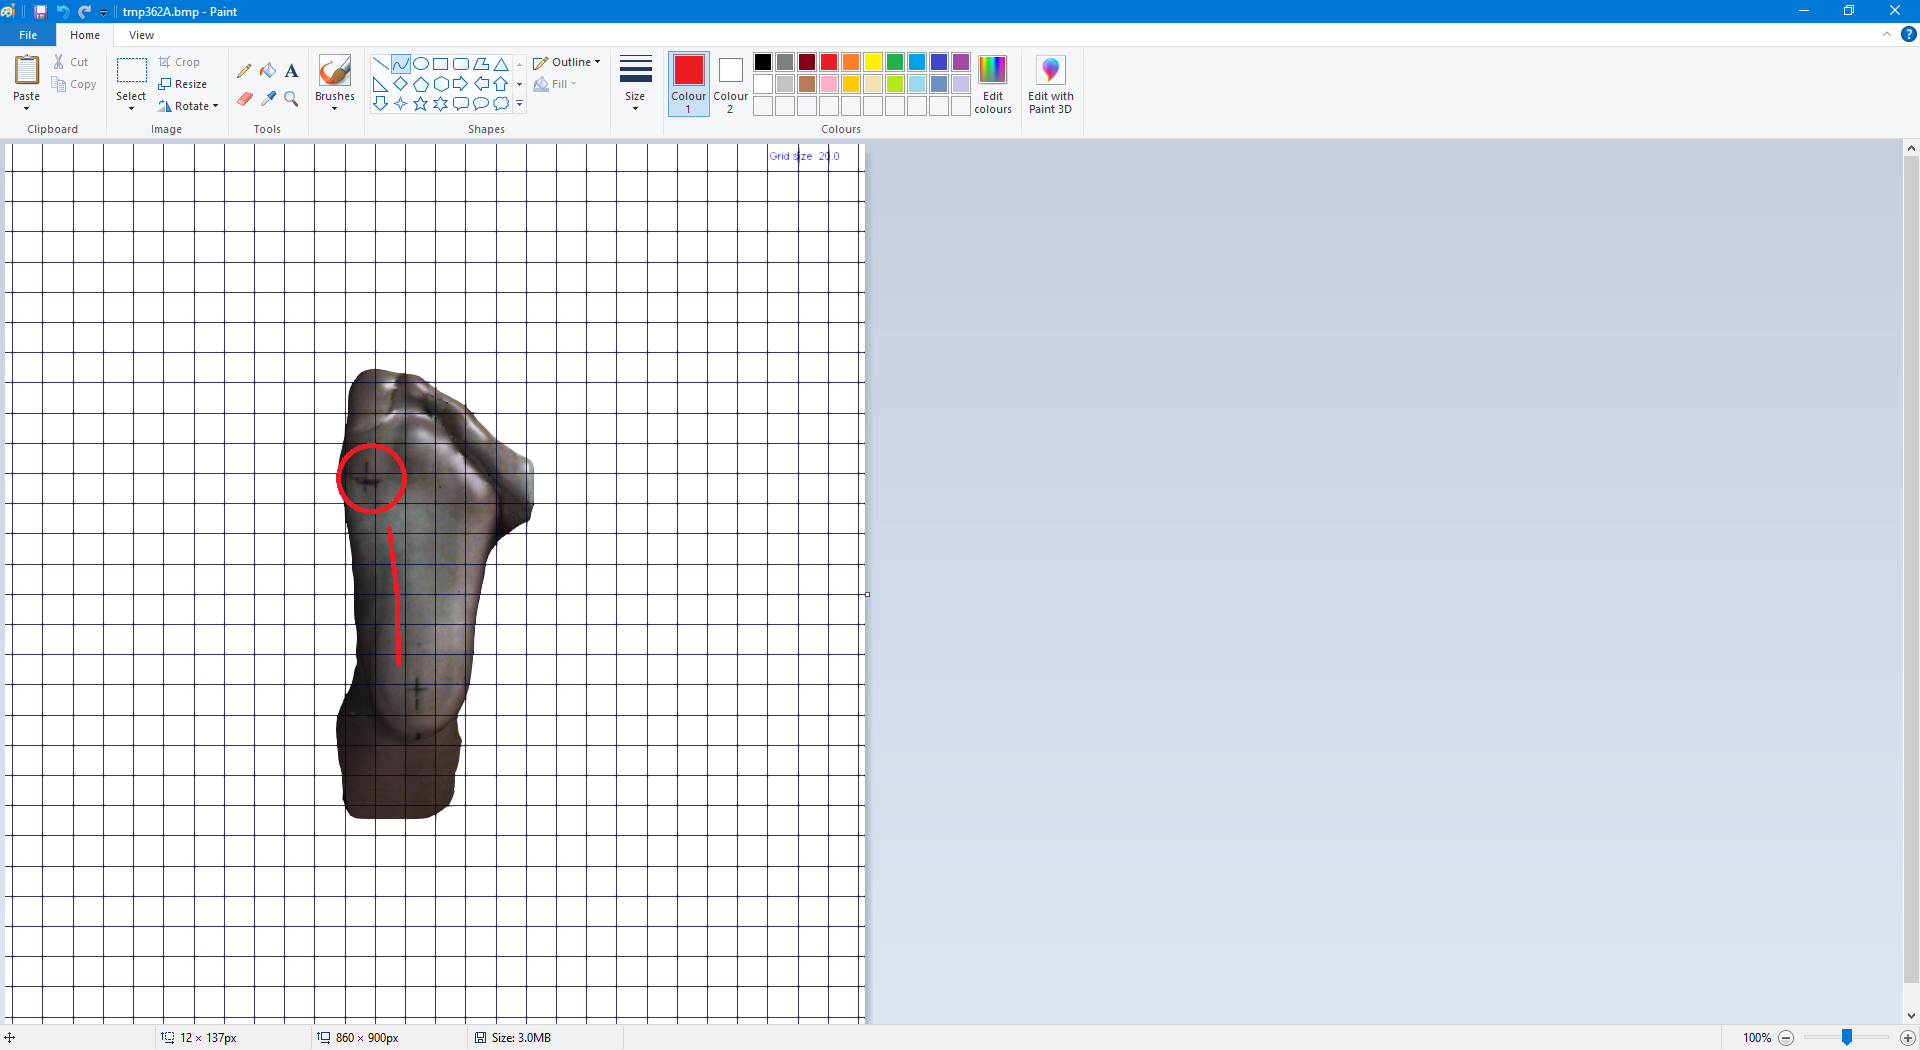
- You can now draw on the screen-capture within Microsoft Paint.
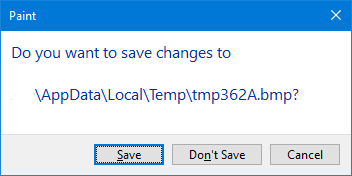
- Click File → Exit.
- Click Save.
- Enter a name for the screenshot.
- For example, "Metatarsal Dome Position - Left".
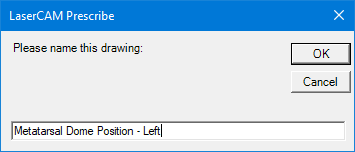
- For example, "Metatarsal Dome Position - Left".
- The drawing will now be saved as an attachment to the patient prescription.
How To Make Drawing (Third-Party 3D Scanners)
- Bisect the centre of the heel (plantar surface of the heel).
- Bisect the centre of the 1st MPJ.
Measure the distance between these two points and enter this value in Heel Centre to 1st MPJ Centre in the Clinical Measures page.
You must complete steps 1-3 prior to 3D scanning the foot.
- Click the Make Drawing button.
- Microsoft Paint will now open.
- You can now draw on the screen-capture within Microsoft Paint.
- You can now draw on the screen-capture within Microsoft Paint.
- Click File → Exit.
- Click Save.
- Enter a name for the screenshot.
- For example, "Metatarsal Dome Position - Left".
- For example, "Metatarsal Dome Position - Left".
- The drawing will now be saved as an attachment to the patient prescription.
If your 3D scanner does not capture colour information then your drawings will not provide anything but reference for the laboratory, unless you confirm with your laboratory that your 3D scanner has the appropriate accuracy.
How To Remove Drawing
- Navigate to the Notes and Attachments page.
- The drawing will be shown under the Attachments header with your specified file name.
- Click the attachment.
- Click Remove.
Removing a drawing will permanently delete your screen-capture and markings.
Support
Search Prescription Guide
Related Articles