Guide Outcomes
- Insert outcome 1
- Insert outcome 2
- Insert outcome 3
...
Outcome 1
This is a description of the outcome
| Tip |
|---|
this is an example of a tip for this guide |
- This is a list
- This is a list
- This is a list
Outcome 2
This is a description of the outcome.
| Warning |
|---|
This is a warning |
- This is a list
- This is another list
...
Outcome 3
This is a description of the outcome.
| Info |
|---|
This is some info. |
![]() You should now have completed this article.
You should now have completed this article.
Further Support
If you require further support please see our related articles below, or contact our support service desk.
Related articles
| Filter by label (Content by label) | ||||||||||||||||||
|---|---|---|---|---|---|---|---|---|---|---|---|---|---|---|---|---|---|---|
|
...
| hidden | true |
|---|
...
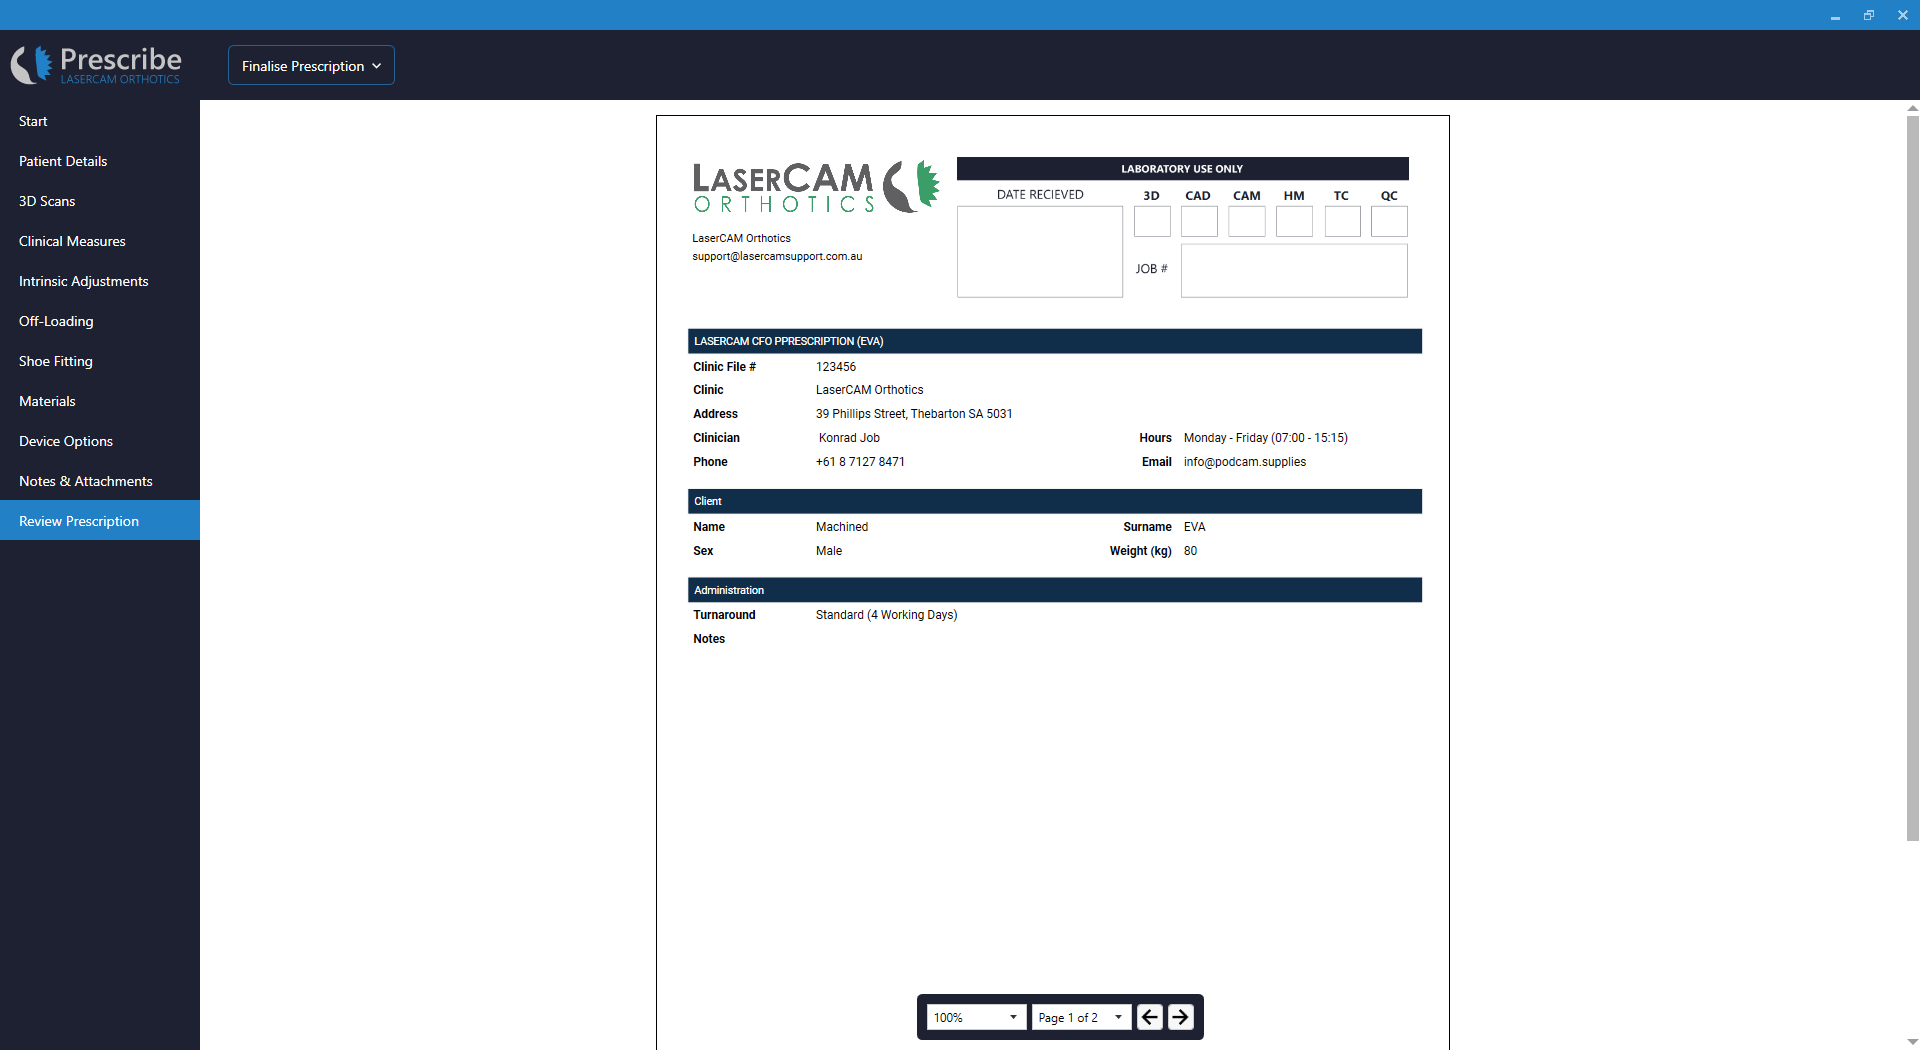
This page explains all relevant features on the Review Prescription page of LaserCAM Prescribe for Machined EVA prescription.
Overview
| Table of Contents |
|---|
Navigation
Click Review Prescription from the menu to access this page in LaserCAM Prescribe.
Page Layout
Page Fields
Review Prescription is a simple tab that allows a user to review an entire prescription in an easy to read format. A user may also submit their prescriptions to a laboratory for manufacture from this page.
Finalise Prescription
The Finalise Prescription drop-down list has several options that may be selected.
| Code Block | ||
|---|---|---|
| ||
C:\3DScanner\Archive |
Finalise Prescription
The Finalise Prescription option will confirm that a prescription is complete and remove it from the Active Prescriptions list on the Start tab.
| Warning |
|---|
Selecting this option will not submit a prescription for manufacture. |
Finalise Prescription & Start Modelling
The Finalise Prescription & Start Modelling option will archive a prescription record
Finalise Prescription & Send to Lab
Confirm Before Manufacture
The Confirm Before Manufacture option can be selected when a user would like laboratory staff to provide a digital file or confirmation images prior to manufacturing the orthosis design.
Clinician Computer-Aided Design
The Clinician Computer-Aided Design option should be selected by users who wish to complete all computer-aided design prior to submission to a laboratory for manufacture.
| Tip |
|---|
Many laboratories offer a discount on the manufacture of orthoses if clinicians undertake their own computer-aided design. |
Machining Service Only
The Machining Service Only option can be selected when a user would like the orthoses returned post-machining with no hand finishing, alterations or top covers applied.
| Tip |
|---|
This option should only be selected by users that are comfortable undertaking all hand finishing work. Many laboratories will offer a significant discount on the manufacture of orthoses if clinicians undertake their own hand-finishing. |
Turnaround
The Turnaround option provides a user with the ability to select a manufacturing timeframe.
| Note |
|---|
Selecting a non-standard Turnaround will result in a surcharge. You should contact your specific laboratory for more information. |
Administrative Notes
The Administrative Notes section is for the user to record notes that are non-specific to the left or right foot orthosis manufacture.
Prescription Note (Left Foot)
The Prescription Note (Left Foot) section is for the user to record notes that are specific to the left foot orthosis manufacture.
Prescription Note (Right Foot)
The Prescription Note (Right Foot) section is for the user to record notes that are specific to the right foot orthosis manufacture.
Attachments
The Attachments section is used to attach any files that are relevant to orthosis manufacture. This can include templates, images, 3D models, prescription notes, biomechanical assessments forms, or any content that can assist with manufacture.
| Tip | ||
|---|---|---|
| ||
(1) To attach a file click the Add File button. (2) Select the relevant file and click Open. (3) The file will now be attached to the prescription record. |

